Showing posts with label recipes. Show all posts

Friday, September 24, 2010

Simple Dessert/ Blog Hop/ Great CVS deal

DESSERT:
Tonight I made the easiest and most delicious dessert. I call it zebra cake, i know it has other names though. It takes about 10 minutes to make, and about 4-6 hours to chill.
what you need:
1 tsp vanilla extract
8oz heavy whipping cream (near coffee creamer)
1 package 9 oz of famous chocolate wafer cookies (near the oreos usually)

-mix the cream and vanilla in a bowl until it has the consistency of whipped cream.
-Layer the cream onto the cookies, some use a spoon, my mom and I always dipped our fingers in and got super messy. You want a good amount on each cookie.
-layer the cookies in a log shape (exactly how they come in the box but now with cream). You can do this on a plate or you can use a bread pan as I do.
-cover entire log with remaining cream
-if desired sprinkle chocolate shavings or cookie crumbs over top of the log (i never have)
-chill for 4-6 hours. It's served cold so it doesn't matter how long you keep it in but you want the wafers to get soft
-EAT!!!

*******

CVS DEAL
some of you may or may not know but I have recently fallen in love with CVS and RiteAid.
This week there are no special deals or great savings to get excited over but one that isn't half bad.

oral bvitatlity 200x200 CVS: Free Oral B Vitality Toothbrush ($23 Value)

Look for the The P&G Insert in this Sundays paper which also includes the CVS weekly ad showing ECB’s for this product. You can get a Oral-B Vitality Toothbrush for FREE starting on Sunday!

Here’s How To Work Your MoJo:

$23.00 Oral-B Vitality Toothbrush
- 10.00 with $10.00/1 Oral-B Vitality Toothbrush 09/26/2010 P&G Insert (exp 10/31/10)
- 13.00 ECB (use on future purchase)
= $ 0.00 or FREE after coupon and ECB

and since the limit on this is 2 – you can run the deal twice and end up with two Free Oral-B Toothbrushes!! Just use your $13.00 ECB and another $10.00 coupon on your second transaction and get 2 for FREE plus you’ll have the other $13 ECB from the 2nd transaction to use on future purchases!!

Thanks to MojoSavings

*******

BLOG HOP FRIDAY
Just linked in to another friend finder blog hop. This looks pretty good, lots of entries!!
Smart and Trendy Moms

Thursday, September 9, 2010

A Twist on Pigs in a Blanket


The husband and I have very little as far as food in our fridge at the moment, so last night when we were contemplating what to make for dinner tonight we remembered that lone pound of ground turkey sitting in the middle of the freezer.

I love ground turkey and found you can use it almost anywhere that calls for ground beef so I thought about using it in a spaghetti sauce. But for some reason or another the idea came to me to make a variation on pigs in a blanket using ground turkey meatloaf logs.
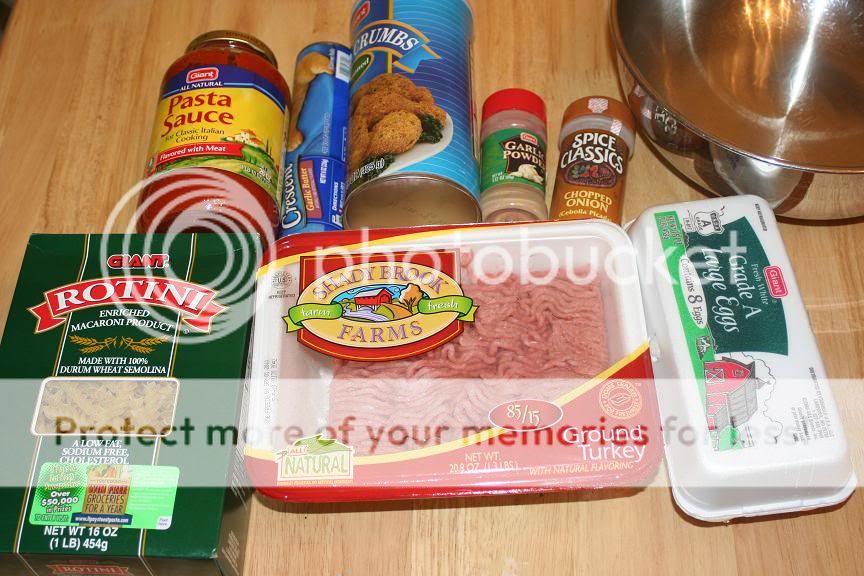
Ingredients:
1 pound ground turkey1 egg
1 package crescent rolls (we use garlic flavored)
any seasoning you prefer (we used: breadcrumbs, dried onions, and garlic powder)
1 package mozzarella cheese (not shown)

Materials:
bowl to mix ingredients
baking sheet for rolls
frying pan to cook the meatloaf logs

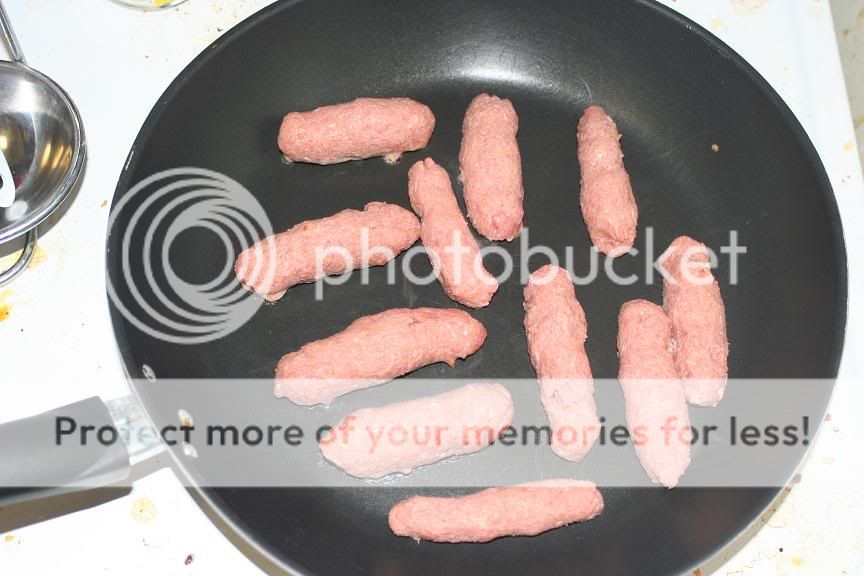
Step 1: Mix Turkey and egg in a bowl with your seasoning ingredients. We flavor to taste so I don't have measurements.Step 2: take the mixture and roll into small "logs". The best way I can describe them is the same size and shape as a cocktail weenie or a breakfast sausage link.Step 3: Preheat your oven to cook your rolls. Brown the "logs" in a skillet until they are cooked or at least mostly cooked (we overcook everything). I would say about 8-10 minutes total, flipping half way depending on the thickness.

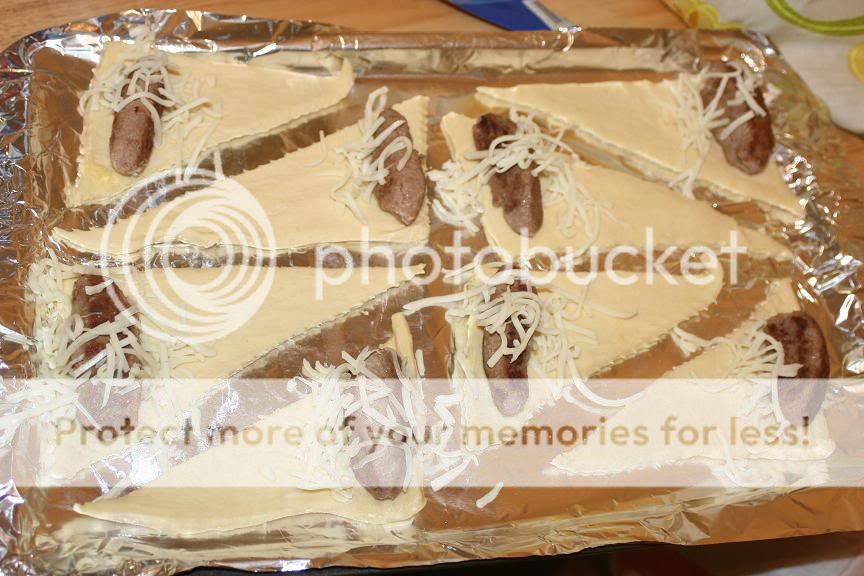
Step 4: Once the "logs" are browned, place them on a paper towel on e plate to soak up the small amount of grease. Roll out your crescents on your baking sheet. Just like with pigs in a blanket you want to roll your turkey "log" up in to the crescent. We added mozzarella cheese inside the crescent as we rolled it up.

Step 5:
Please your rolls in the oven. The recommended cook time was 11-13 minutes but we had to cook them about 5 extra minutes to account for the addition of the turkey.

Step 6:
take your rolls out of the oven, wait for them to cool and enjoy. You can dip them in a sauce to make them the perfect appetizer. We used some spaghetti sauce since we had them before a pasta dinner (in which we used the extra turkey logs as "sausage")

Thursday, July 29, 2010

Oreo Truffles


This is a conflicting recipe. It calls for oreos which are my least favorite of all snack foods (I know, how can I be a mom and human and not like them??) and chocolate which isn't always a favorite of mine.

However, it also calls to mix those ingredients with Cream Cheese, and that's why this recipe is for me.

Here's what you need:

1 - package of oreo cookies (I used generic brand)
1 - package of cream cheese (8 oz)
1 or 2 - bags of semi-sweet chocolate chips
a way to mash the cookies (i used the good old rolling pin and
plastic bag method, but a hand mixer works as well

Prep time: 10 minutes
total cook time: depends (for me 2 hours - includes an hour + of refrigeration)


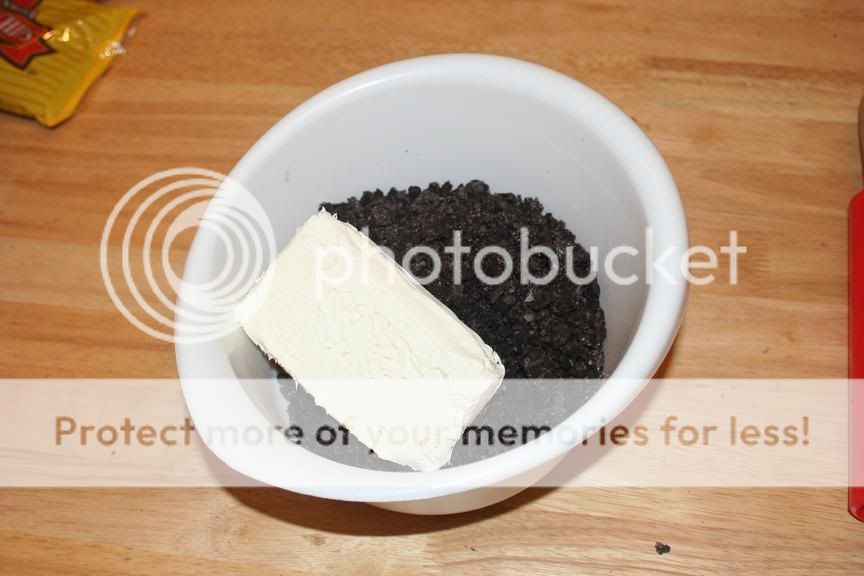
Step 1: Crush cookies until they are a fine dusting (or as close to fine as you can get


Step 2: add cream cheese to the chopped oreos (it's best if cream cheese is room temperature, but if using a mixer it will work still cold)


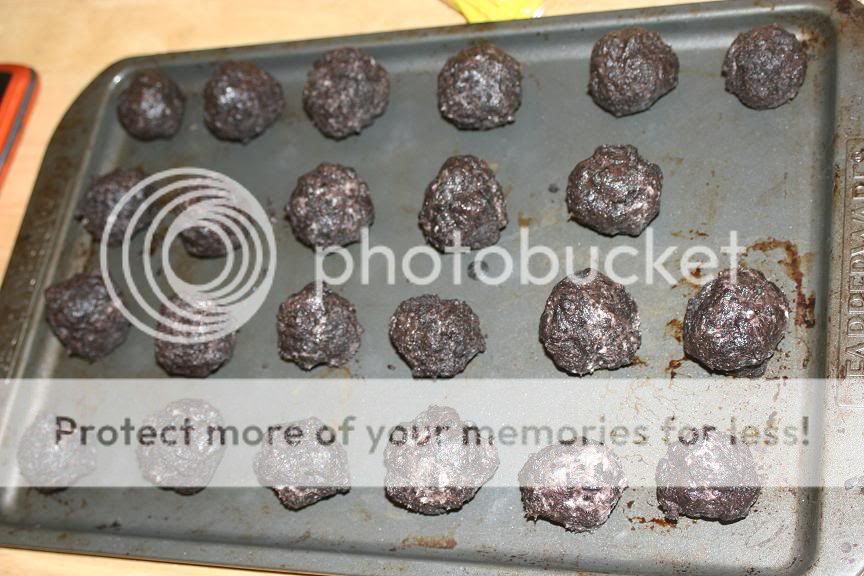
Step 3: Rolls the mixture into small 1" balls (they look like meatballs). Place these balls on a tray to cool in the refrigerator. They should cool for about an hour to make them a little easier to use later on.


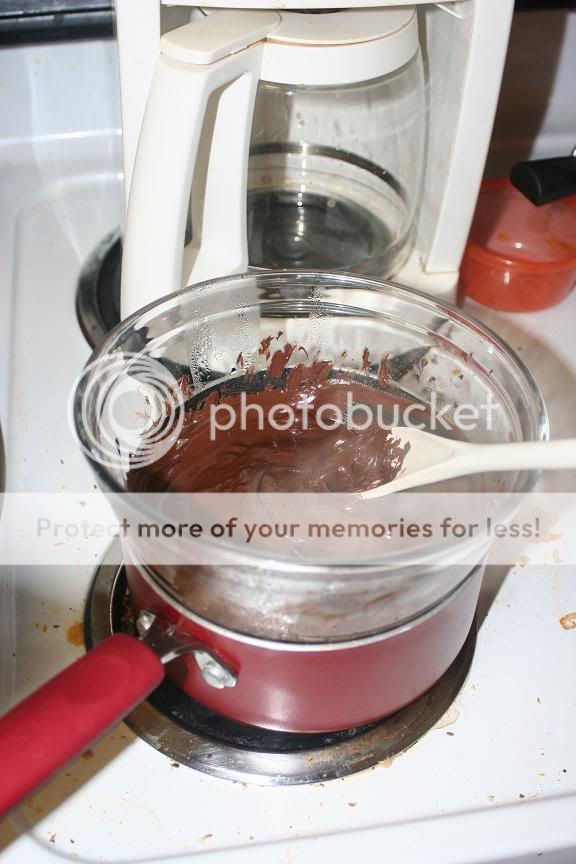
Step 4: You need to use a double boiler to melt your chocolate chips. I don't have a double boiler so I always improvise (sorry for the messy stove).
-for anyone who needs to know how to create a double boiler what I used was a small sauce pan half full of water an a glass mixing bowl. I let the water boil, set the glass bowl inside with the chocolate chips and stirred the chips until the consistency was right.


Step 5: This part is the hardest in my opinion. The point is to cover the oreo balls with the melted chocolate. It does not take long for the chocolate to start re-hardening so you have to be quick about this process. Many people suggest using two forks to hold the ball and allow the chocolate to drip through the slots. My chocolate is never runny enough to drip so I usually just use my hands or a spoon. They don't have to be perfect so have fun, and involve the kids on this part most of all!!!

And when you're done coating I recommend putting them back the fridge or freezer to harden the chocolate. As you can see mine didn't turn out great esthetically, but they are delicious.
I will warn you though, these are very very very rich. I can usually only eat one at a time and I have to include a whole glass of milk.

You can also try other ingredients, peanut butter oreos, peanut butter chocolate chips, adding vanilla flavoring. Test it out, and see what you think!!

Bon Apetite